Mastering Perfectly Arched Brows: Tips for Any Natural Brow Shape
Brow

Mastering Perfectly Arched Brows: Tips for Any Natural Brow Shape

Mastering your brows is truly an art form. When you figure out how to manage your brows and create the perfect arch for your brow shape? It’s a true *chef’s kiss* kind of moment.

But, like any art form, mastering your brows at home is a skill. Creating the perfect shaped brow involves many elements, such as your natural brow shape, facial features, and personal preferences. It may take some time to figure out how to achieve the perfect brow arch.

But the good news? Expert tips and tricks can help you minimize that learning curve. We’re here to help you develop a go-to routine for creating your perfect eyebrow shape and arch. Let's look at the brow tips you need to master the art of the perfectly arched brow:

model with thick brows

Start With Brow Mapping

Brows are not a process where you want to take a “let’s wing it!” approach. If you want to create the perfect arch, you need to map out what that perfect arch looks like—and that’s where brow mapping comes in. Brow mapping, as the name suggests, is a process of sketching (or mapping) out your perfect brow shape before actually creating the brow look. Brow mapping allows you to define the perfect brow shape before you start working with brow products.

This method helps you find the perfect arch for your face shape and saves you time and energy. Once you reach the product stage, you already know where the products need to go. No need to redo your brows!

So, how do you map your brows?

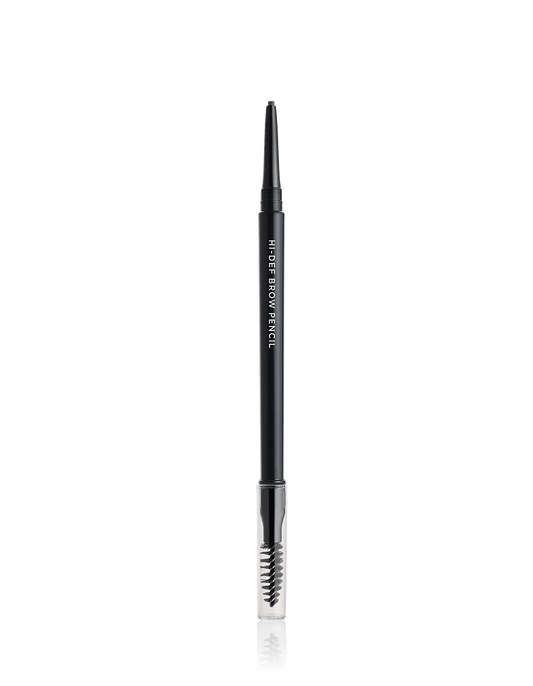
  • Find your starting point. Grab your brow pencil, which is an essential part of brow mapping. Place the pencil vertically near the inside corner of your eye. Find the point where your brow pencil crosses your brow bone. That’s where the brow should begin.
  • Find your length. Once you’ve figured out where your brow should begin, it’s time to determine the perfect length. Start by placing your brow pencil at the outside of your nostril. Then, turn it 45 degrees to line up with the outer corner of your eye. Voila! You’ve got your ideal brow length.
  • Mark your brows. You’ve got the starting point. You’ve got your ideal length. Now it’s time to actually sketch or mark out your new brows. If you're new to brow mapping, try using concealer to mark the boundaries of your brows. It's easier to correct any mistakes this way compared to using a pencil.
  • Find your arch. To figure out where the arch belongs in your brow shape, hold the pencil over the outside of your iris. Your eyebrow arch should peak above this spot and lie on your brow bone.

Pro Tip: There’s no one-size-fits-all solution for the perfect brow. Different brow shapes tend to work better with different face shapes—and when mapping out your brows, consider choosing a brow shape that complements your face. For example, many pros suggest that those with round faces create more angular brows, those with long faces extend their brows, and those with oval faces opt for a high arch.

That being said, your definition of the perfect brow is completely up to you—so choose a shape that makes you feel confident, regardless of whether that shape is considered the “right” one for your face shape. It’s your face—so create the brows that feel the most you!

Brush and Tweeze

Once you’ve mapped out your brow shape, it’s time for a bit of brow grooming. Start with brushing your brows. Beginning at the inner corner of your brow, brush your brow hairs in an upward direction until you hit that arch. Then, brush the remaining brow hairs (from arch to end) in the direction of your brow hair’s growth.

Sometimes, brushing is enough. But if you have a lot of hairs that are outside of your desired brow shape, you can also tweeze the stray hairs to give your brows a cleaner look.

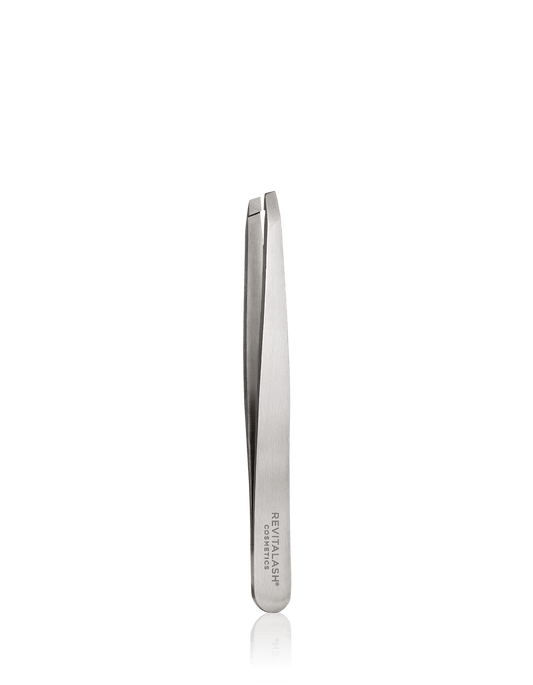
But keep in mind, not all tweezers are created equal. When it comes to tweezers, you need quality and precision. Otherwise, you run the risk of over-tweezing and damaging your brows. Opt for professional-grade tweezers made of stainless steel with a thin tip, which will help you tweeze individual hairs rather than pulling out larger clumps that could damage your brows—like our Precision Tweezer.

Pro tip: Does the thought of tweezing your eyebrows make you wince? If you struggle with pain when you pluck, there are tricks to making the process as pain-free as possible.

Start by applying ice to your brow area before you start tweezing to help numb the nerves. After you’ve achieved your desired shape, pop on that ice again to reduce redness. And if you’re still red and inflamed post-tweezing, try adding a few drops of witch hazel, which can help reduce redness and swelling.

model with thick brows looking down

Choose Your Products And Fill In Your Brows

There are so many brow products to choose from, and in order to nail the perfect arch, you’ll want to choose products that will give you the look that you’re going for.

Some products you’ll want to consider for your brow routine include:

  • Brow pencil. If you have sparse brows, a brow pencil can help give the illusion of fullness.
  • Brow pomade. Another alternative for sparse brows is brow pomade. This product can be a little trickier to work with than a pencil, but some people prefer a pomade texture.
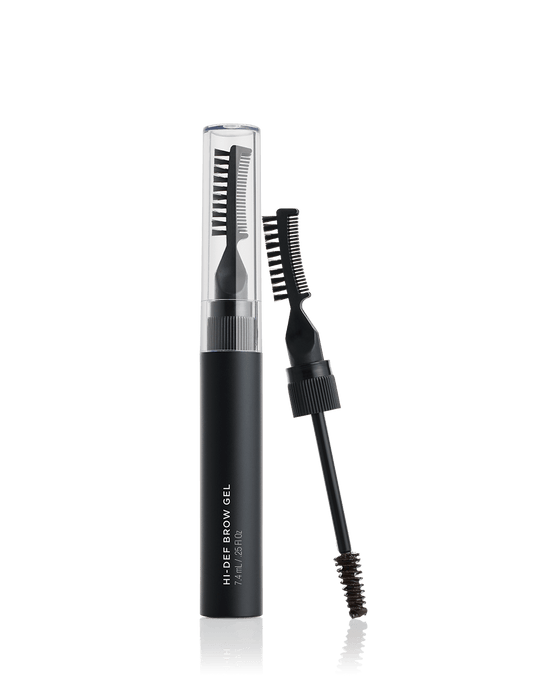
  • Brow gel. And yet another alternative for fuller brows is brow gel. Brow gel is one of the easier products to use—and it’s also great at setting brows in place.
  • Brow highlighter. A brow highlight is an extra step in your brow routine—but it’s definitely one that’s worth it. Adding a highlight underneath the brow can really make the arch pop.

Once you’ve figured out what products are right for you, it’s time to fill in your brows. With your product of choice, fill in the sparse areas of your brows by drawing small, upward strokes. Be sure to leave space in between the strokes so that the product looks like real brow hair (and doesn’t have a “painted on” effect). Start at the inner corner of your brow and work your way outwards.

Now, the tip you’ve been waiting for: as you’re creating your brows, how do you create that perfect arch? When you get to the area where you want to create your arch (which, again, should be above the outside of your iris), apply your product slightly outside your natural brow line.

Create your ideal arch shape, rounded or sharp. As you move towards the outer end of your brow, move your pencil or brush back down towards the natural hairline. That change in where you apply your product is the key to creating a defined arch!

model with thick brows looking straight

Add Some Texture

Many people stop at filling in their brows. But if you really want your brows to look natural, adding a little texture—and creating some brow dimension—is a can’t-miss step.

Take a bit of brow gel (tinted or clear) and run it through your brows, moving from the outer corner to the inner corner of each brow. Then, brush your brow hairs again (upward from start to arch, in the direction of your hair growth from arch to end). This extra step will help add feathery texture and brow dimension—and will also help lock your brow look in place for the day.

Ready To Create Your Perfect Arch? You’ve Got This!

It can be daunting to learn how to create the perfect eyebrow shape. However, it’s possible to achieve the ideal arch for any face or brow shape.

Now that you know the exact steps to take, you’re armed with the insights you need to craft your version of the perfect brow arch. So what are you waiting for? Get out there and create that perfect brow!

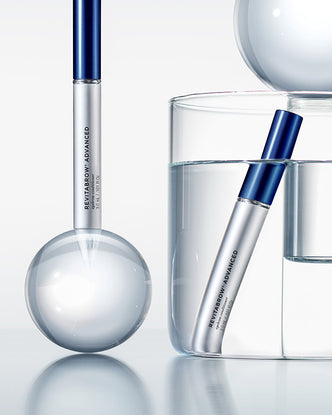
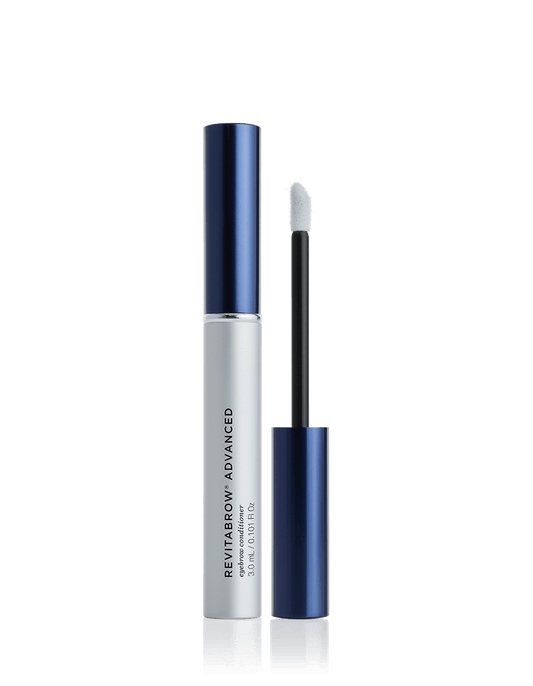
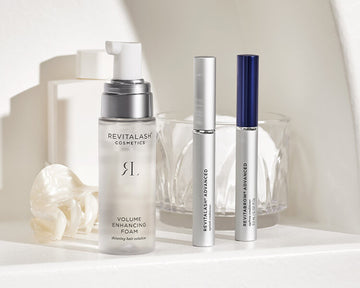
Want to create the perfect arch—and the perfect brow? Try RevitaBrow® Advanced.

Clearly, there’s a lot that goes into creating the perfect brow arch—including the right products. But if you want the perfect brows, you’ll also want to use products that help to support your brow health—like RevitaBrow® Advanced.

Our physician-developed eyebrow serum was designed to address visible signs of brow aging due to chemical and environmental stressors, over-grooming, and styling products. Regular use can help condition, strengthen, and enhance your brows, making them appear healthier, more hydrated, and more luxurious—and giving you the foundation you need to build your perfect brow.

Related Posts