Experts Guide to Brow Lamination at Home
Brow

Experts Guide to Brow Lamination at Home

Every few years a new trend comes around that completely changes how we groom our brows. Threading, brow tinting, and microblading all took the beauty industry by storm, and have proven themselves to be game changers when it comes to how we style our brows.

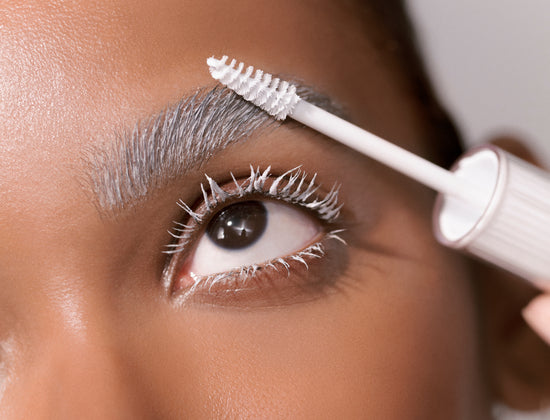
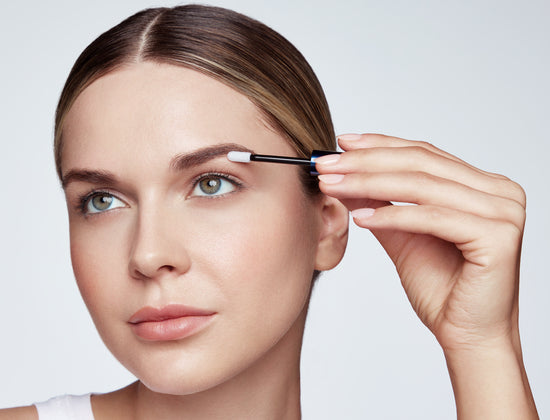
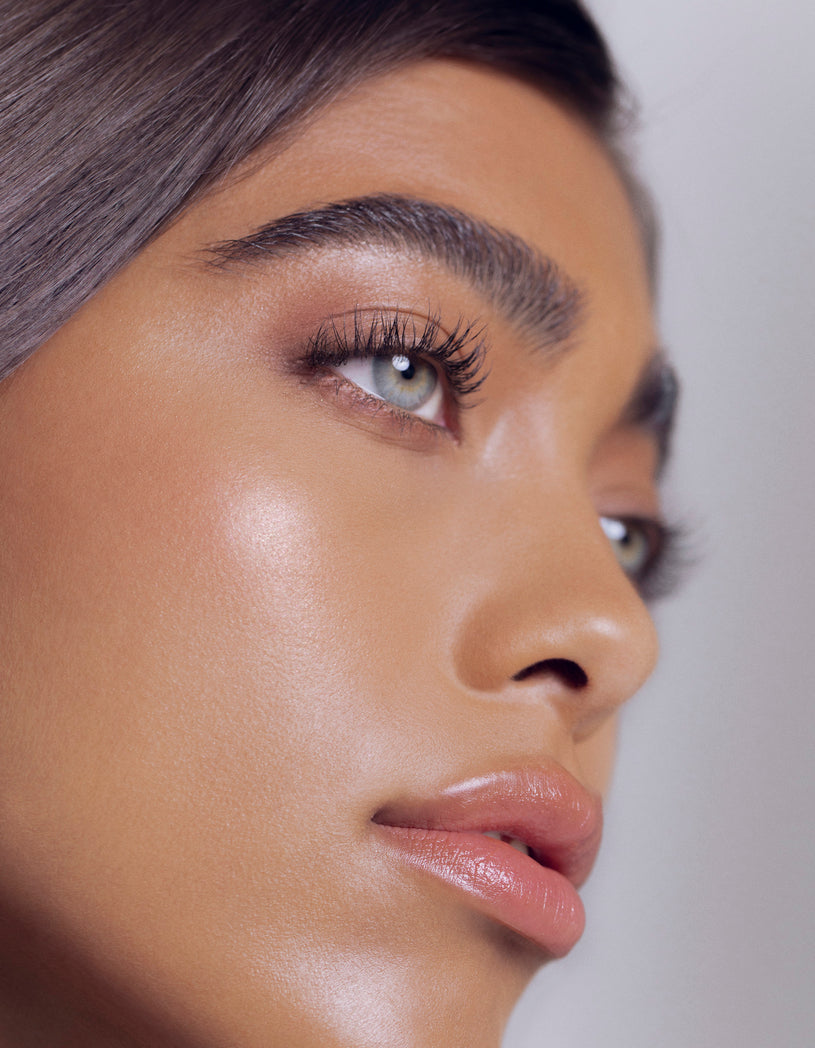
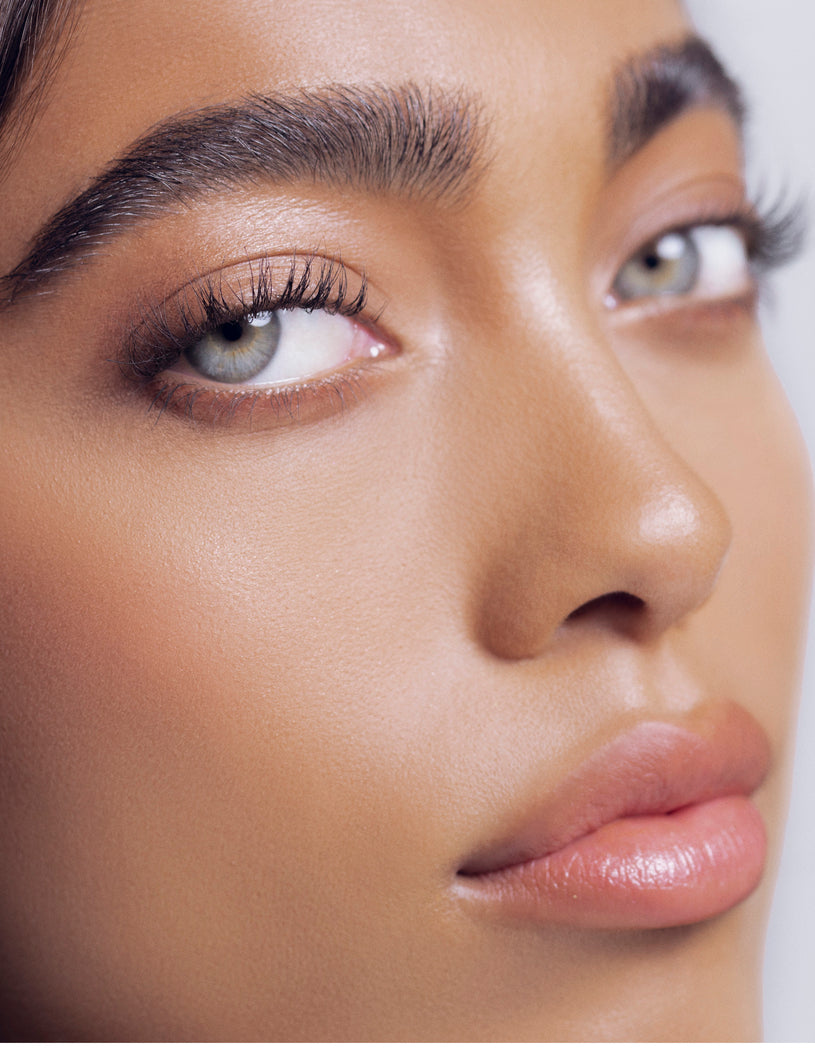
The newest brow grooming trend on the block is brow lamination. We love this trend because it gives eyebrows a bold, feathered look that you’ve surely spotted all over your TikTok “for you” page.

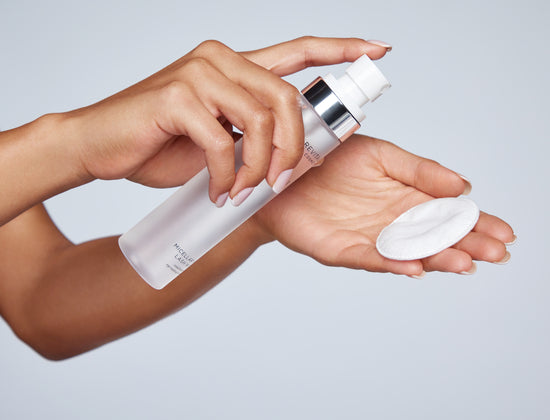
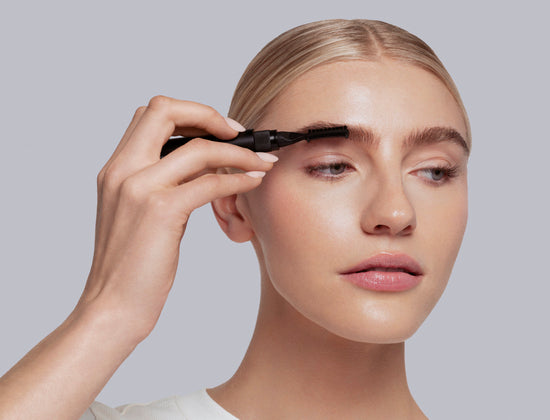
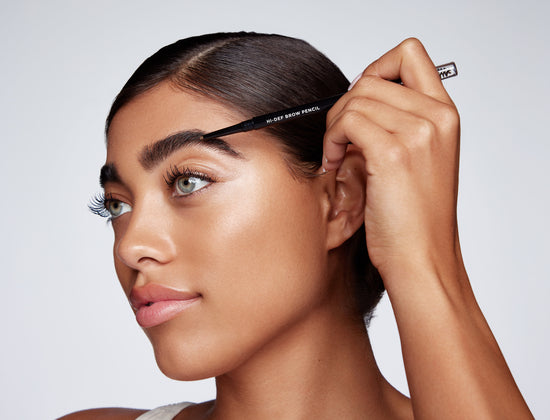
Brow lamination is a service typically performed by professionals in salons. But with the right products and techniques, you can achieve salon-quality brow results from the comfort of your own home.

model with laminated brows

What Is Brow Lamination?


Brow lamination is like a hair perm or lash lift, but for your eyebrows. Instead of curling the hairs, a special chemical solution for brows is applied to straighten them.

This results in a uniform, sleek appearance. (Some brow laminations may involve a semi-permanent grooming formula or keratin-infused brow treatment.) This process is particularly beneficial for those with unruly or sparse brows. It helps to create fuller-looking, fluffy brows, and ultimately a more defined look.

A DIY brow lamination can give you similar, but temporary results without the use of a chemical perm solution. Not to mention it poses fewer risks. Professional brow lamination risks include over processing, breakage, and damage to brows.

Getting Started: What You'll Need

Before diving into the at-home brow lamination process, you’ll want to gather the necessary supplies. Here's a breakdown of the essential products:

  • Micellar water cleanser: Use a gentle, micellar formula to remove makeup, dirt, and oil from your brows before beginning the process.
  • Lash & Brow Masque: This ultra-reparative treatment restores health and hydration to your brows (and lashes).
  • Brow Serum: Invest in a high-quality brow serum enriched with nourishing ingredients like peptides and vitamins. This will help to strengthen and condition your brows, ensuring they remain healthy and vibrant.
  • Brow Gel: Opt for a clear eyebrow gel to set your brows in place after the lamination process. This will help to maintain the desired shape and prevent unruly hairs from straying out of place.
  • Brow Pencil: Choose an eyebrow pencil in a shade that matches your natural hair color. Fill in any sparse areas and add definition to your brows.

With these key products on hand, you'll be ready to embark on your at-home brow lamination journey.

Our 6 Step Guide to At-Home Brow Lamination

Now that you have all the necessary supplies, let's walk through the step-by-step process of achieving beautifully laminated brows at home:

micellar water lash wash

Step 1:

Cleanse & Prep

Start by thoroughly cleansing your brow area to remove any dirt, oil, or makeup residue. Use a gentle cleanser or micellar water to ensure your skin is clean and free of impurities. Once your brows are clean, pat them dry with a soft towel.

lash & brow mask application

Step 2:

Hydrate & Repair Damage

Treat your brows to an immediate infusion of hydrating, nourishing ingredients with a targeted treatment. Our Lash & Brow Masque is a one of a kind formula that restores hydration to brows in a single use. This treatment takes just a few minutes to apply, and helps repair damaged hair for softer, shinier, more flexible brows.

To apply the mask, swipe the applicator evenly over clean, dry lashes and brows until fully coated. Leave on for at least 15 minutes, or until product dries.

Next, apply warm water on lashes and brows, continuing to soak until product begins to loosen or release from the hair.

Finally, use the comb side of the applicator to remove the masque gently from the lashes and brows. Repeat until product is fully removed.

model applying revitabrow advanced

Step 3:

Condition & Strengthen

Healthy, conditioned brows create the foundation for a beautiful, feathered look. Incorporate a brow serum into your daily routine. This will help nourish and strengthen your brows, creating a bolder, more dramatic effect.

Look for a serum that contains hydrating and strengthening ingredients like peptides and vitamins to promote optimal brow health. Our RevitaBrow® Advanced is an ideal option. (It’s also an 11-time in a row winner of Allure’s Best of Beauty Award!).

To use, apply several short strokes of brow serum to clean, dry eyebrow hair. Let dry completely (2-3 minutes) before moving onto the next step.

model applying hi-def brow gel in clear

Step 4:

Set Your Brows

Once your brows are fully nourished. Use a clear brow gel to set them in place. Brush the gel through your brows in an upward motion, following the natural arch of your brows. This will help to keep your brows looking sleek and polished throughout the day.

model laminating brows

Step 5:

Laminate

While your brow gel is still wet, lay your index finger at the base of your brows, applying pressure and pushing upward so that brow hairs set and seal in the right direction. Allow a few minutes for product to dry.

model applying hi-def brow pencil

Step 6:

Define & Fill

Use a brow pencil to fill in any sparse areas and define the shape of your brows. Choose a pencil that matches your natural hair color. Use short, feathery strokes to mimic the appearance of natural brow hairs for the best brow shaping. Pay close attention to areas where your brows may be thinner or less defined. Finally, use the pencil to create the illusion of fullness and symmetry.

model with laminated brows

After Care: How to Maintain Your Laminated Brows

Congratulations! You’ve completed the at-home eyebrow lamination process. Now, taking steps to maintain your results and keep your brows looking their best is important. Here are some after care tips to keep in mind:

  • Be Gentle: Avoid rubbing or touching your brows excessively. This can cause the laminated hairs to become misshapen or dislodged.
  • Avoid Oil-Based Products: Oil-based skincare products (like castor oil) can leave behind a film. This may create a barrier between your brows and the brow conditioner, so it's best to avoid using them on or around your brows.

By following these post-lamination care tips, you can prolong the effects of your at-home brow lamination and keep your brows looking fabulous.

How Often to Repeat an At-Home Brow Lamination

The frequency of at-home brow lamination sessions will vary depending on your technique.

If you use the method we recommend, you can complete the process twice a week. If you use another method involving a chemical eyebrow straightening solution, allow 4-6 weeks between brow lamination treatments. If you notice any signs of irritation or discomfort, consult with a dermatologist before performing another DIY brow lamination.

Between laminations, apply your brow conditioning serum once a day to keep your brows in their healthiest shape.

What to Avoid When Trying a DIY Brow Lamination

At-home brow lamination can yield stunning results if done correctly. Here are a few common mistakes to avoid to ensure a successful outcome:

  • Using Harsh Products: Avoid using harsh or abrasive products on your brows. This can cause irritation or damage to the delicate skin and hair.
  • Excessive Heat or Moisture: Exposure to excessive heat or moisture can break down your brow gel’s hold. This will undo the sleek look you created. We suggest avoiding steam rooms, saunas, and swimming to keep your brow look in place.
  • Rushing the Process: For best results, allow each product to dry before moving onto the next step.

By steering clear of these common pitfalls and following best practices for at-home brow lamination, you can achieve stunning, salon-quality results in the comfort of your own home.

model with laminated brows

Unlock Your Brow Potential

Ready to elevate your brow game with at-home brow lamination? With the right products, tools, and techniques, achieving salon-quality results has never been easier (and without the need for a 24-hour patch test).

Whether you're looking to tame unruly brows, add the look of definition and fullness, or simply enhance your brows’ natural beauty, at-home brow lamination offers a convenient solution for achieving the brows of your dreams. So why wait? Take the plunge and unlock your potential for fuller-looking brows today.

Share your at-home brow lamination journey on social media. You can do so by using #browlaminationDIYwithRLC to connect with fellow beauty enthusiasts from around the world. We’d love to see your results!

Who Shouldn’t Try This

At-home brow lamination is generally safe for most people. However, you should avoid using new products before consulting your doctor if you are:

  • Pregnant or nursing
  • Undergoing treatment for glaucoma or cancer
  • Experiencing damaged or irritated skin
  • Have a facial skin condition

Related Posts